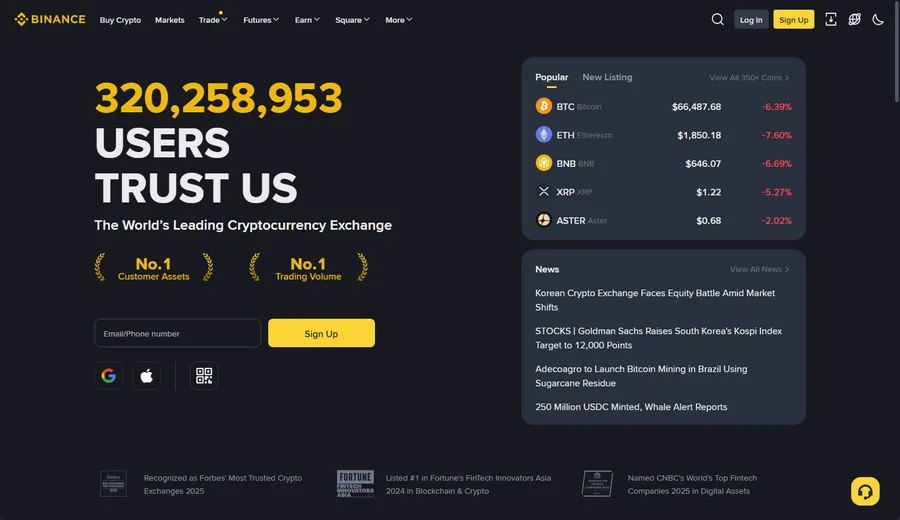
Binance is the world’s largest crypto exchange by trading volume, with over 100 million registered users. Opening an account takes about five minutes — but the part that trips most people up isn’t the registration itself, it’s navigating KYC levels, knowing which documents actually work, and understanding why some verifications get rejected on the first attempt.
This guide covers the full process: registration, KYC verification (with a plain-English breakdown of what each level unlocks), 2FA setup, and making your first deposit. One thing to clarify upfront: Binance.com is not available to US residents — that’s a separate entity called Binance.US. If you’re outside the US, you’re in the right place.
What you need before you start
- Email address (recommended over phone number — easier for account recovery)
- Government-issued photo ID: passport, national ID card, or driver’s licence
- Smartphone for face recognition during KYC and for 2FA setup
- About 15–30 minutes of uninterrupted time (KYC can take a few minutes or up to 24 hours depending on queue volume)
A note on document quality: the most common reason KYC fails is poor photo quality, not missing documents. Shoot in natural light, lay the ID flat on a white surface, make sure all four corners are visible, and avoid plastic laminate glare. Getting this right the first time saves days of waiting for a re-review.
Step 1: Create your Binance account
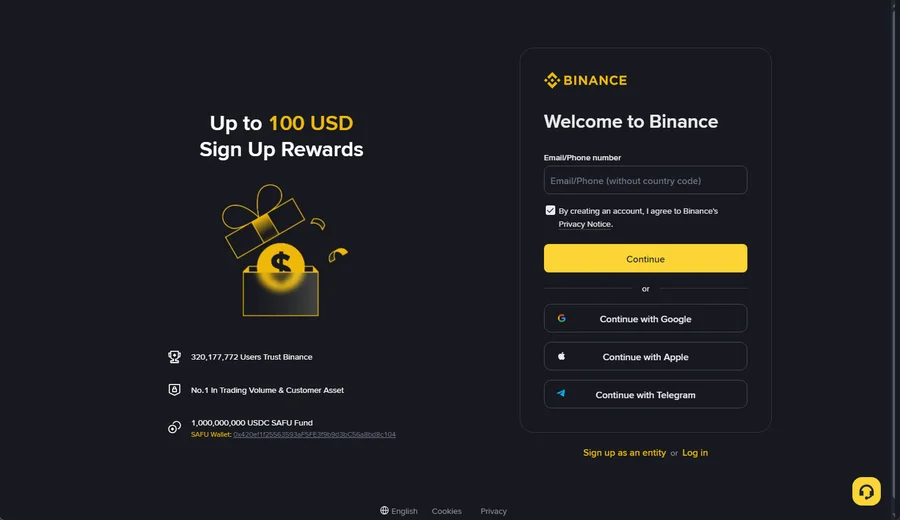
Go to binance.com and click Sign Up. The sign-up card opens with a single Email/Phone number field — you no longer pick “email” or “phone” as separate paths; just type whichever you prefer into the same box (for a phone number, leave out the country code, since you select that from a dropdown). I still lean toward email here: if you ever change your number, email-based recovery is far less painful. You can also sign up in one tap with Google, Apple, or Telegram if you’d rather not manage a separate password. Tick the consent box and hit Continue.
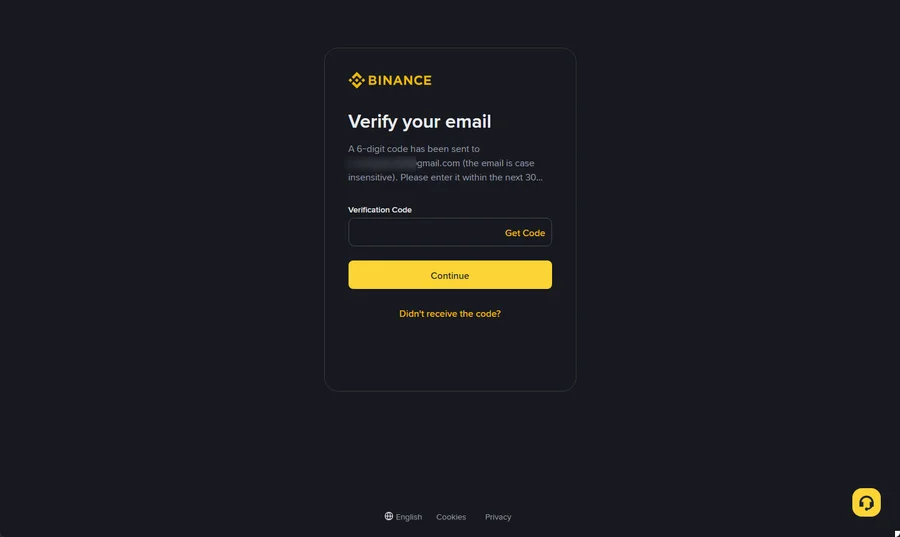
Verify your email, then set a password
Binance sends a 6-digit code to your email — enter it on the next screen within about 30 minutes (the code is case-insensitive, so don’t worry about capitalisation). If it doesn’t arrive, check spam first, then use “Didn’t receive the code?” to resend. Notice the order here: you verify the email before creating a password, which trips up people expecting a single combined form. Skip temporary or disposable inboxes — they’re often blocked outright, and they make account recovery a nightmare later.
On the Create a password screen, the rules are shown live as you type: 8 to 128 characters, at least one number, and at least one uppercase letter. Personally I’d go well past the minimum — a long passphrase you can actually remember beats a short cryptic one you’ll reset every month.
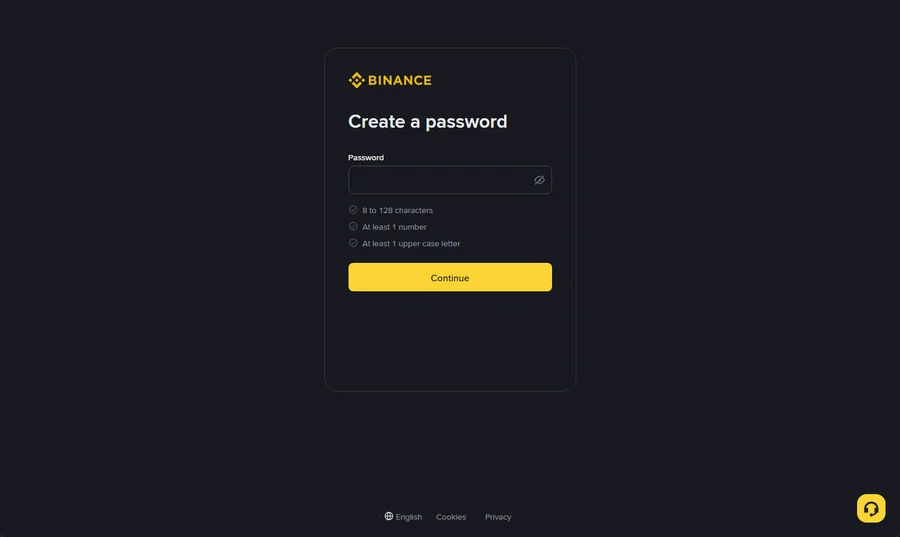
Tip: Generate a compliant password below, paste it into the Create a password field, and save it in your password manager.
Binance password generator
Random password that meets Binance’s rules (8–128 characters, includes an uppercase letter and a number)
Generated password
Referral / inviter code (optional)
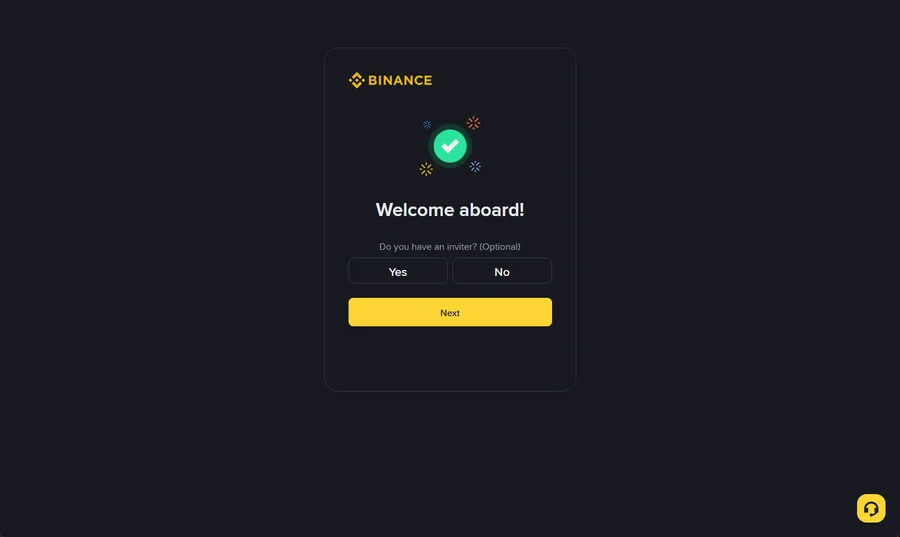
After the password, a “Welcome aboard!” screen asks “Do you have an inviter? (Optional)” with a simple Yes / No toggle — this is where a referral code goes, not on the first form. Entering one typically unlocks a fee discount for your first few months. If you don’t have a code, just choose No and tap Next; it has no bearing on whether your account is approved.
Step 2: Complete KYC verification
After registration, Binance will prompt you to verify your identity. There are three KYC levels, and each unlocks a different tier of functionality. Most users only need to reach Level 2 (Intermediate) — that covers essentially everything a regular trader needs.
KYC levels explained
| Level | What’s Required | Daily Withdrawal Limit | What It Unlocks |
|---|---|---|---|
| Level 1 (Basic) | Name, date of birth, address (no document upload) | ~$1,000,000 equivalent | Spot trading, most withdrawals |
| Level 2 (Intermediate) | Government photo ID + face recognition | ~$2,000,000 equivalent | Virtually all features including copy trading |
| Level 3 (Advanced) | Address proof (bank statement or utility bill) | Custom (negotiated) | High-volume fiat withdrawals |
How to complete Level 2 (Intermediate)
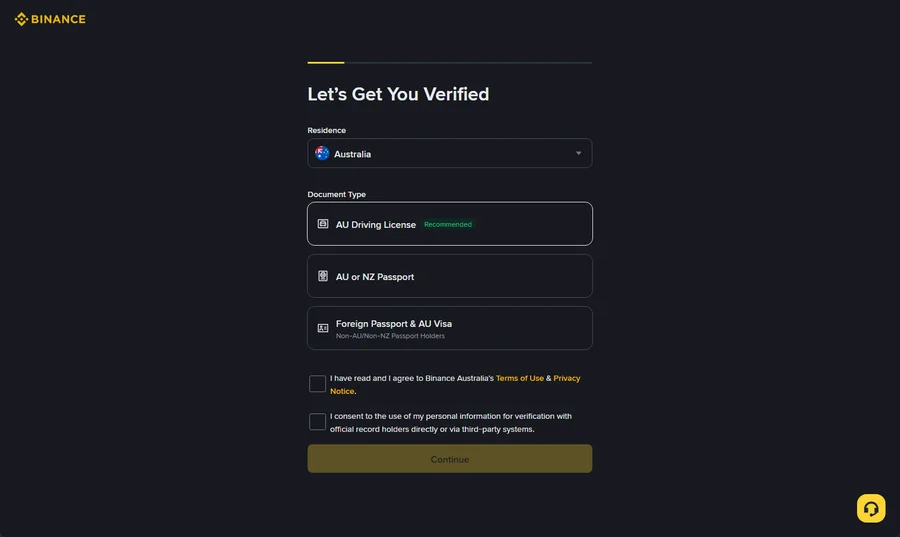
When the “Let’s Get You Verified” screen appears, you first confirm your residence and the document-issuing country/region from dropdowns, then pick a document type. The options Binance shows are tailored to the country you select — and one of them is flagged Recommended, which is usually the fastest to pass because its data extraction is the most reliable. Tick the two consent boxes (Terms of Use / Privacy Notice, and consent to verify your details with official record holders) and continue.
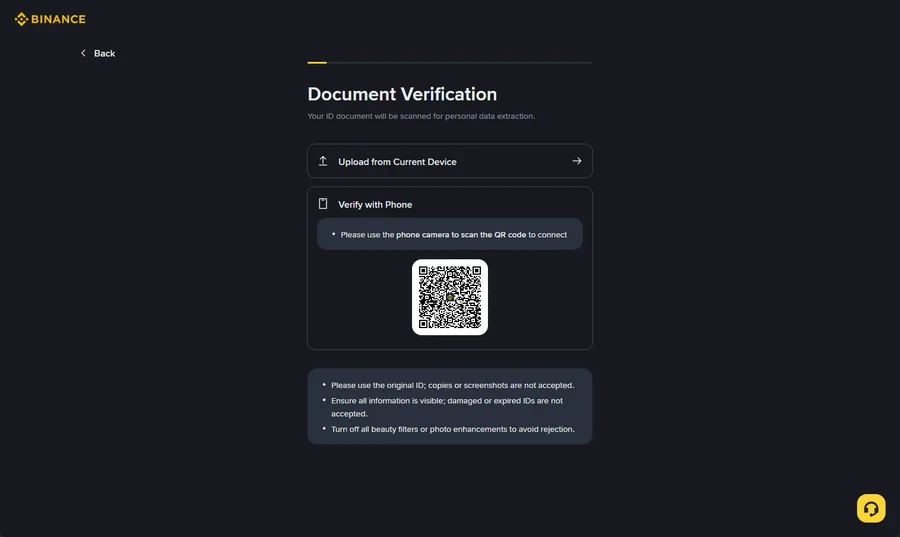
Next is Document Verification, where the ID is scanned to extract your details. You can either Upload from Current Device or choose Verify with Phone — scanning a QR code to continue capture on your phone, which I’d recommend since a phone camera almost always beats a laptop webcam for sharpness. Binance is explicit about three things here: use the original ID (copies or screenshots are rejected), make sure every detail is visible (no damaged or expired documents), and turn off any beauty filters or photo enhancements — those are a leading cause of automatic rejection. After the document scan, a live face-recognition check runs; just follow the prompts to turn your head.
Why KYC gets rejected — and how to fix it
From what I’ve seen, the majority of rejections come down to three things:
- Photo quality issues: Glare from plastic laminate, blurry edges, or a corner cut off are the most common culprits. Retake in diffuse natural light with the document flat on a plain surface.
- Name mismatch: The name on your ID must exactly match what you entered during registration. A middle name omitted, or a name entered in the wrong script, will cause a rejection. Check character by character.
- Expired document: Binance’s system checks expiry dates automatically. If your passport or ID expired, there’s no workaround — use a different valid document.
One thing to be absolutely clear about: do not touch up or edit the document photo in any way before submitting. Even basic brightness adjustments can trigger a fraud flag, and those accounts often face extended review holds.
Step 3: Set up two-factor authentication (2FA)
2FA is not optional if you’re serious about account security. Binance offers several methods — they’re not equally safe.
| Method | Security Level | Notes |
|---|---|---|
| SMS | Low | Vulnerable to SIM-swap attacks. Use only as a fallback. |
| Google Authenticator | Medium | Cloud sync is a risk if your Google account is compromised. |
| Binance Authenticator | High | Stored locally — not tied to any cloud account. Recommended. |
| Passkey | Highest | Phishing-resistant. Works with Face ID, Windows Hello, or hardware key. |
My recommendation: set up a Passkey as the primary method and the Binance Authenticator as a backup. This combination gives you phishing resistance on the front end and a local fallback if you lose access to your primary device. SMS alone is genuinely not enough for an account holding meaningful funds.
Step 4: Make your first deposit
Once your account is verified and secured, you can fund it. Binance offers several deposit routes — the best one depends on your location and how you want to hold funds.
Crypto transfer (from another exchange or wallet)
If you already hold crypto elsewhere, transferring to Binance is the cheapest option. Go to Wallet → Deposit, select your coin (USDT is the most common entry point), choose your network (TRC-20 is cheapest for USDT), and copy your deposit address. Always double-check the network matches on both ends — sending TRC-20 to an ERC-20 address will lose the funds.
Credit or debit card
Fast but expensive — typically a 1.8–3.5% fee depending on your card issuer. Useful for a first small purchase to get started, less so for larger amounts. 3D Secure authentication is required; some banks block crypto purchases by default and need a quick call to unlock.
P2P trading
Binance P2P lets you buy crypto directly from another user using local payment methods (bank transfer, e-wallets, etc.). The exchange itself is free — you only pay the spread between the buyer and seller’s price. Useful when direct fiat deposits aren’t available in your region.
What to do after opening your account
A few security and setup steps that are easy to skip but worth doing before you make your first trade:
- Set an Anti-Phishing Code: Go to Security settings and create a personal phrase. Every legitimate email from Binance will include this phrase — if it’s missing, the email is a phishing attempt.
- Review authorized devices: Check Security → Device Management and remove any devices you don’t recognise.
- Enable withdrawal whitelist (optional but recommended): Restricts withdrawals to pre-approved addresses only. Adds friction to your own workflow but makes account compromise far less damaging.
If you’re planning to use Binance copy trading, note that futures copy trading requires opening a futures account separately — there’s a short acknowledgement quiz inside the platform. It’s easy but easy to miss.
FAQ
Conclusion
Opening a Binance account is straightforward once you know what to prepare. The registration itself takes five minutes; the KYC step is where most people lose time — usually because of a photo quality issue that could have been avoided. Get your document photo right on the first submission, set up Passkey and Binance Authenticator before your first trade, and you’ll have a fully functional account with access to spot trading, futures, copy trading, and P2P.
For next steps, the Binance fee guide breaks down exactly what trading costs once you’re up and running.